
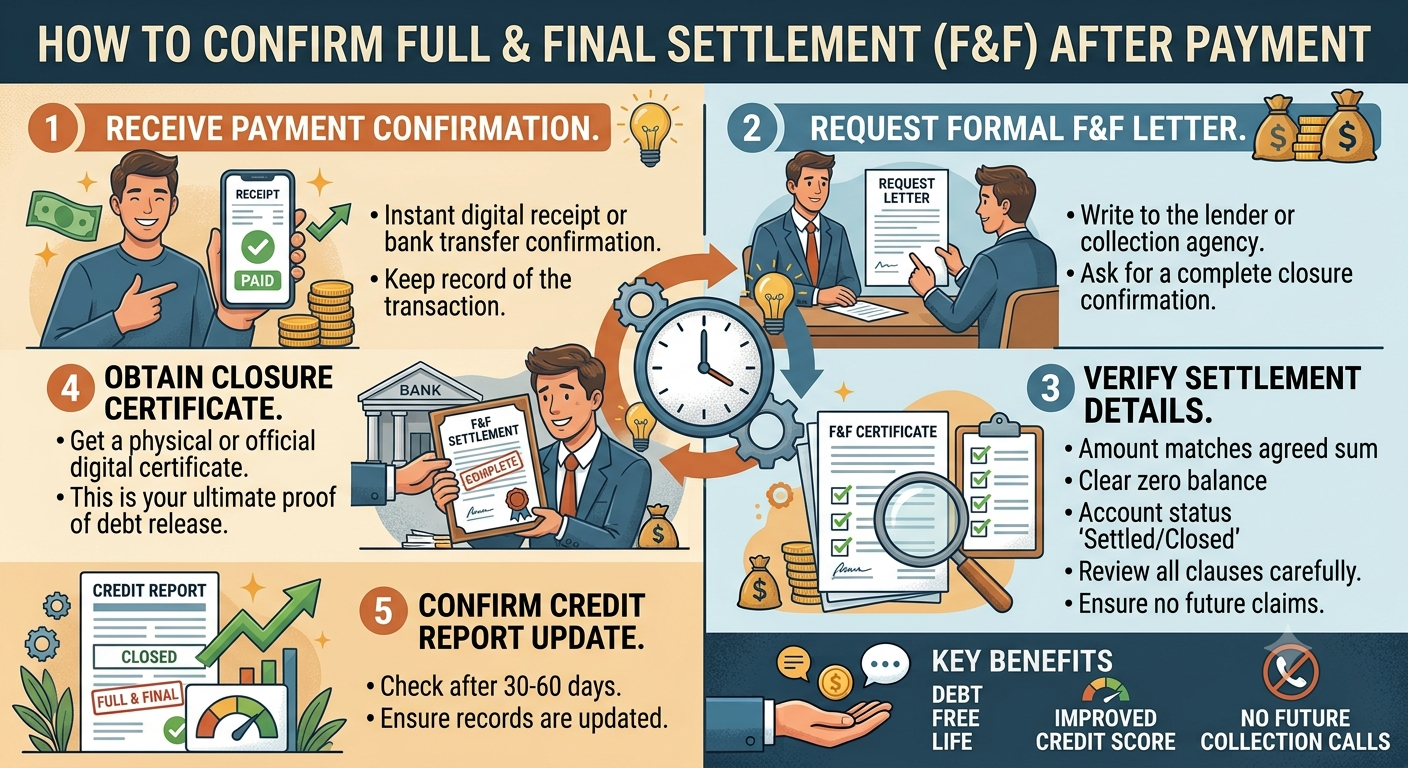
Completing a One-Time Settlement (OTS) on a defaulted loan or credit card account is a massive financial milestone. Reaching an agreement with a bank or Non-Banking Financial Company (NBFC) to settle an outstanding balance for a reduced lump-sum payment offers immediate relief from mounting debts, compounding penal interest, and recovery calls.
However, making the payment is not the final step.
To ensure the settlement is legally binding and permanently closes your liability, you must obtain formal post-payment confirmation from the lender. Failing to complete post-settlement verification can leave you vulnerable to residual balance claims, ongoing debt collection actions, or lingering legal disputes.
The Post-Payment Settlement Discharge Process
+-------------------------------------------------------------------------------+
|                 POST-PAYMENT SETTLEMENT CONFIRMATION WORKFLOW                 |
+-------------------------------------------------------------------------------+
| Step 1: Execute Direct Account Remittance (Per Sanction Terms)                 |
| Step 2: Request Proof of Payment Acknowledgment & Ledger Clearance            |
| Step 3: Obtain the Official No Dues Certificate (NDC) / Closure Letter       |
| Step 4: Secure Withdrawal of Active Legal Notices & Cases                     |
| Step 5: Verify CIBIL / Credit Bureau Status Updating (Within 30–45 Days)      |
+-------------------------------------------------------------------------------+
Step-by-Step Guide to Confirming Full and Final Settlement
To achieve complete peace of mind and secure total legal discharge, follow this verification roadmap immediately after remitting your agreed settlement amount:
1. Pay Exclusively Through Official Channels
Always transfer the compromised sum directly into the bank’s official account—never to a recovery agent’s personal account or third-party digital wallet. Utilize NEFT, RTGS, IMPS, or a demand draft drawn in favor of the bank. Retain physical and digital copies of the payment receipt, transaction reference number (UTR), and bank statement entries.
2. Obtain an Official Payment Acknowledgment
Within 3 to 5 business days of payment clearance, request an official written receipt or ledger acknowledgment from the bank’s home branch or recovery Nodal Officer confirming that the specified settlement sum has been successfully received against your loan account number.
3. Secure Your No Dues Certificate (NDC) or No Objection Certificate (NOC)
The No Dues Certificate (NDC) is the ultimate legal document proving that your debt obligation is completely satisfied. The NDC should explicitly state:
- The loan account number and borrower details.
- That the agreed compromised amount has been received in full accordance with the Settlement Sanction Letter.
- That the lender waives all remaining principal, interest, and penal charges.
- That the account holds a zero balance with no further liabilities outstanding.
Ensure the NDC is printed on official bank letterhead and signed by an authorized manager with an official stamp.
4. Confirm Withdrawal of Pending Legal Complaints
If the bank had previously initiated legal action—such as Section 138 cheque bounce proceedings, arbitration, or Debt Recovery Tribunal (DRT) filings—demand a formal Legal Withdrawal Application or Joint Memorandum of Compromise. Obtain certified copies of court filings showing that all pending cases have been unconditionally withdrawn.
5. Verify Property & Asset Release (For Secured Loans)
If the settled debt was a secured loan (such as a home loan or auto loan), retrieve all original property deeds, parent documents, or title chains. Ensure the bank registers a Deed of Re-Conveyance with the local Sub-Registrar and updates the CERSAI portal or RTO records to clear all liens.
6. Monitor Credit Bureau Updates (30 to 45 Days Post-Payment)
Check your credit report across major credit bureaus (CIBIL, Experian, CRIF High Mark) after 45 days. Verify that:
- The outstanding balance reflects ₹0.
- The account status is updated to “Settled” or “Closed” rather than remaining active or marked as default.
Key Documentation Checklist: Before vs. After Settlement
| Verification Milestone | Pre-Payment Phase | Post-Payment Phase |
|---|---|---|
| Primary Document | Settlement Sanction Letter | No Dues Certificate (NDC) / NOC |
| Payment Proof | Written agreement on bank letterhead | Payment receipt with UTR reference |
| Legal Status | Undertaking to suspend litigation | Formal court case withdrawal petitions |
| Credit Status | Account marked “NPA” or “Overdue” | Account marked “Settled” with zero balance |
Critical Resources for Post-Settlement Verification
Navigating post-payment bank verifications, auditing No Dues Certificates, and managing legal case withdrawals requires specialized financial advocacy and legal oversight. Explore these essential resources for expert guidance:
- Verify your post-payment No Dues Certificate alongside a certified loan settlement expert.
- Explore end-to-end debt closure and documentation audits via loan settlement services.
- Learn how to audit post-settlement credit bureau entries using complete loan settlement guides.
- Protect yourself from improper residual recovery claims with a trusted loan settlement agency.
- Review your payment receipts and closure letters with a dedicated loan settlement expert.
- Ensure full waiver of remaining balances through specialized loan settlement services.
- Manage legal case withdrawals and court filings supported by an established loan settlement agency.
- Understand RBI guidelines on post-settlement NOC issuance through professional loan settlement advice.
- Safeguard your financial recovery and property title rights with help from a skilled loan settlement expert.
- Obtain institutional representation and credit report auditing via dedicated loan settlement services.
- Secure complete legal discharge and original document retrieval with assistance from an experienced loan settlement agency.
Final Thoughts
Paying the agreed settlement sum is a significant accomplishment, but securing your official No Dues Certificate, confirming the withdrawal of all legal notices, and verifying your credit report updating are the essential steps that guarantee your financial freedom. By completing this post-settlement checklist, you can move forward with confidence and begin rebuilding your financial future.